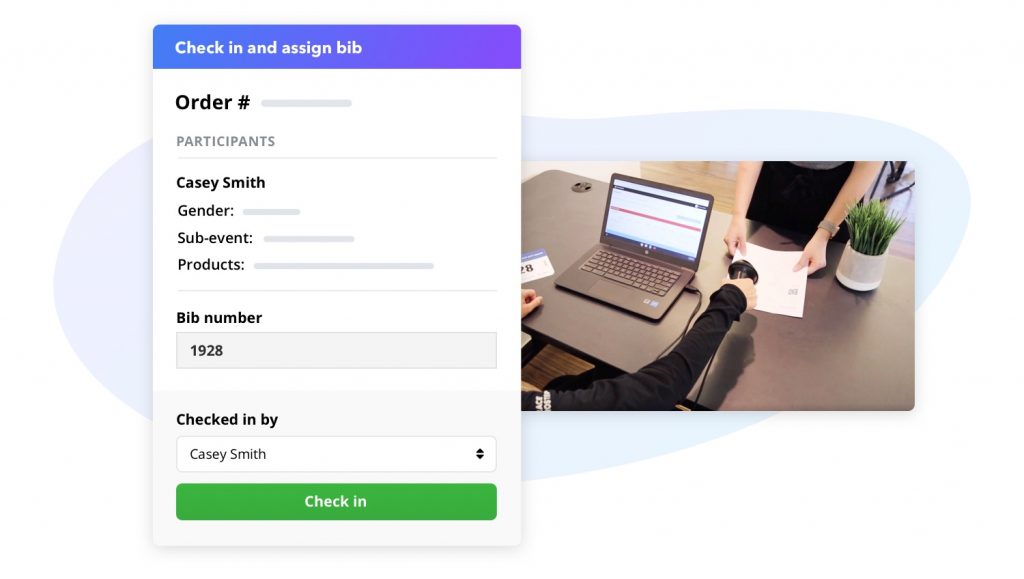
Say goodbye to long check-in lines by introducing barcode scanners to your check-in process. Race Roster’s Onsite App works seamlessly with a variety of barcode scanners, allowing you to streamline the check-in experience for participants and volunteers.
Let’s break down how simple this really is.
Process using pre-assigned bibs at check-in:
Step 1: Scan Confirmation
Every Race Roster confirmation email comes with a unique barcode, this barcode is scannable from phones or on paper. When a participant arrives at check-in, a volunteer can quickly scan the participant’s confirmation barcode.
Step 2: Instantly see participant information
Race Roster’s Onsite App instantly pulls up the participant(s) associated with that confirmation number, without any clicking or typing.
Step 3: Check-in
Next, the volunteer can simply click enter, hand out the pre-assigned bib, and move on to the next participant!

Alternatively, if you are accustomed to assigning bibs dynamically at packet pick up, and anticipate a high volume of check-ins within a short period of time, we’d encourage you to coordinate with your timer to execute the process below:
Process for dynamically assigning bibs at check-in:
Step 1: Generate bib barcodes
Using a barcode generator, your timer can print barcode labels that correspond to the number on the bib.
Step 2: Scan confirmation & bib
After your volunteer scans the confirmation email, they can quickly scan the next bib on their stack, and the Race Roster Onsite App will automatically assign that bib to the runner on the screen.
Step 3: Check-in
Next, the volunteer can simply click enter, hand out the dynamically assigned bib, and move on to the next participant.

We think this can be done in under 5 seconds. That’s about 720 check-ins per hour for each check-in station!
Ready to give it a try? Check out our list of recommended scanners to help you get you started with streamlining your onsite check-in experience.